Unihiker K10 Lesson 3
Introduction:
In this lesson, we will take the next step in building an interactive application by combining graphical UI with audio output. Using the UNIHIKER K10’s built-in speaker and display, we will create a basic music player interface using MicroPython. You’ll learn to play an audio file, draw interactive “Play” and “Stop” buttons, and even display playback status. This introduces how the device can become a multimedia tool for creative or educational applications.
What You’ll Learn:
- Drawing functional audio control buttons (Play/Stop)
- Using the built-in speaker to play audio
- Displaying playback time and status
Preparation:
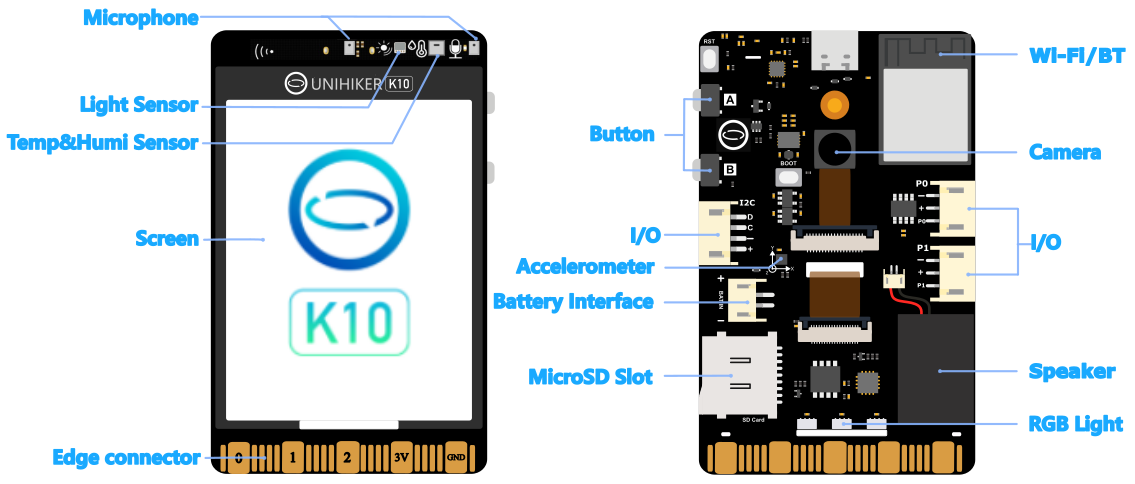
Make sure your MP3 file (e.g., test.mp3) is copied to the K10’s internal storage or SD card. You can use Thonny or file manager to upload it.
Step-by-Step Code:
pythonCopyEditfrom pinpong.board import Board
from pinpong.libs.unihiker import GUI, Audio
import time

Board().begin()
screen = GUI()
audio = Audio()

# UI Setup
screen.clear()
screen.draw_string(60, 30, "Simple Music Player", scale=2)

# Draw Play Button
screen.draw_rect(80, 100, 60, 40, fill=True, color=(0, 255, 0))
screen.draw_string(90, 110, "Play")

# Draw Stop Button
screen.draw_rect(160, 100, 60, 40, fill=True, color=(255, 0, 0))
screen.draw_string(170, 110, "Stop")
This sets up two buttons with labels on the screen. Now let’s respond to button input to control audio playback:
pythonCopyEditfrom pinpong.board import Pin

btn_a = Pin("P0", Pin.IN)

while True:
    if btn_a.value() == 0:
        screen.draw_string(80, 160, "Playing...", color=(0, 255, 0))
        audio.play_sys_music("test.mp3")
        while audio.is_busy():
            remaining = audio.play_time_remain()
            screen.draw_string(80, 190, f"Time Left: {remaining}s")
            time.sleep(1)
Notes:
- The audio plays asynchronously, allowing you to update the UI while music is playing.
- Use
audio.is_busy()to check if audio is still playing. play_time_remain()helps you show a basic progress status.
Tips for Extension:
- Add touch input detection (e.g., via screen tap coordinates) for a fully touchscreen player.
- Add volume control by adjusting speaker parameters.
- Show the name of the currently playing song.
Conclusion:
You’ve now created a working music player with a graphical interface. This is a powerful use of the K10’s multimedia capabilities, especially useful for educational toys, audio guides, or art projects. In the next lesson, we’ll turn the K10 into a real-time sensor dashboard that reads and displays environmental data using its onboard sensors.